Teaching Kids to Sew with a Sewing Machine

Many moons ago, I owned a sewing business and sewed handmade clutch purses for bridesmaids. It helped put me through nursing school, but after sewing 1500 bags over a 2-year period (and even teaching my husband to sew to help with the workload!), I felt a little burnt out. So my sewing machine sat in our garage for several years until my son - age 6 at the time - expressed interest in learning to sew.
So how do you begin sewing with kids, using a machine? I'd love to share a few tips and my favorite sewing supplies.
Learning the basics
First, do you (Mama) know how to sew? If not, I really think it's best to ask someone to teach you. Because sewing is so hands-on and you may need help making adjustments to your machine, it's best to ask someone to show you the basics. Does your mom, a neighbor, or an older lady in your church know how to sew? Reach out! She'd be so excited to help pass along this valuable skill.
If you're not able to find someone to teach you, it's important that you first know how to work your particular machine, as all machines are different. The best way to do this is to read through your manual and test scraps of fabric to be able to sew a straight line with the correct thread tension. Once you're able to do this, the sky is the limit!
If you're wanting to learn online, these videos on beginning sewing look very helpful (and her accent is delightful!):
Beginners Sewing Course, Day 1 (there are 5 days in all)
Sewing machine recommendations
+ A sewing machine. My favorite machine is no longer manufactured, but I found several basic machines that would be perfect for getting started:
Brother Sewing Machine SM-2700 ($120) - This one is lightweight and beginner-friendly, but doesn't skimp on any of the features you need. This would be perfect to get started.
Brother Sewing Machine GX37 ($140)
Brother Sewing and Quilting Machine XR3774 ($160) - This one comes with a wide table, if you'll be using the machine primarily for larger projects.
I'm partial to the Brother brand because it manufactures my favorite machines, but I also know that Singer, Husqvarna Viking, and Janome are reputable, reliable brands. If you're just getting started, having a machine with lots of different stitch options is not necessary. (I hardly ever use that feature.) But I do enjoy having an automatic needle threader, which all of the machines above have. And my favorite non-essential feature is an automatic thread cutter. This makes sewing so much quicker, though machines with this feature can get a little pricey.
Other supplies you need:
+ An iron and ironing board for pressing fabric. Any iron will do.
+ Sharp scissors for cutting fabric.
+ Sewing pins for pinning fabric
+ Fabric. With kids, it's especially convenient to pick up pre-cut quilting squares or "charm packs" if you're going to sew a simple quilt (I love this one) as cutting fabric can take quite a bit of time. Either way, starting with cotton fabric (nothing fancy like wool or satin) is a must.
+ Sewing thread - This will be cheaper if you purchase it at a sewing or craft store, but just choose an all-purpose sewing machine thread. Gütermann is my favorite brand. You may want to start out just purchasing white thread to practice, then add to your collection of colors as you gain confidence.
Not necessities, but nice to have:
+ Embroidery scissors for snipping tiny threads at the end of your projects. This final step makes your work look very polished.
+ Fabric rotary cutter and cutting mat: This is a helpful tool that ensures accuracy with your cutting and makes a big difference in the final product. It's totally possible to cut fabric with sharp scissors, but if you do a lot of sewing, this is much quicker and more accurate.
Getting started
Once you're ready to get started sewing your first project, here's a great tutorial for a basic patchwork quilt, made with pre-cut fabric, which allows you to get right to sewing. We've also made bean bags and crayon roll organizers. On our list to sew next are these adorable stuffed bunnies, this quilted doll blanket, and this doll.
Tips for kids:
As for teaching kids to sew, here are a few tips:
+ Start by introducing your children to the machine, and in particular, the needle. You never want your child's finger to get snagged in a needle, so show them where to place their hands as they sew... always away from the needle.
+ Your machine should have an adjustable sewing speed. Set that to the slowest speed to get started, until your child feels confident to speed up a bit.
+ Initially, you may want to do the pressing and cutting and pinning, line up the fabric under the machine, lower the presser foot, even push the sewing pedal with your foot, then allow your children to simply guide the fabric. Gradually, you can add to their tasks: let them push the pedal. Then allow them to set up the fabric on the machine before sewing. Then allow them to help pin. You know your child best and what they can safely do.
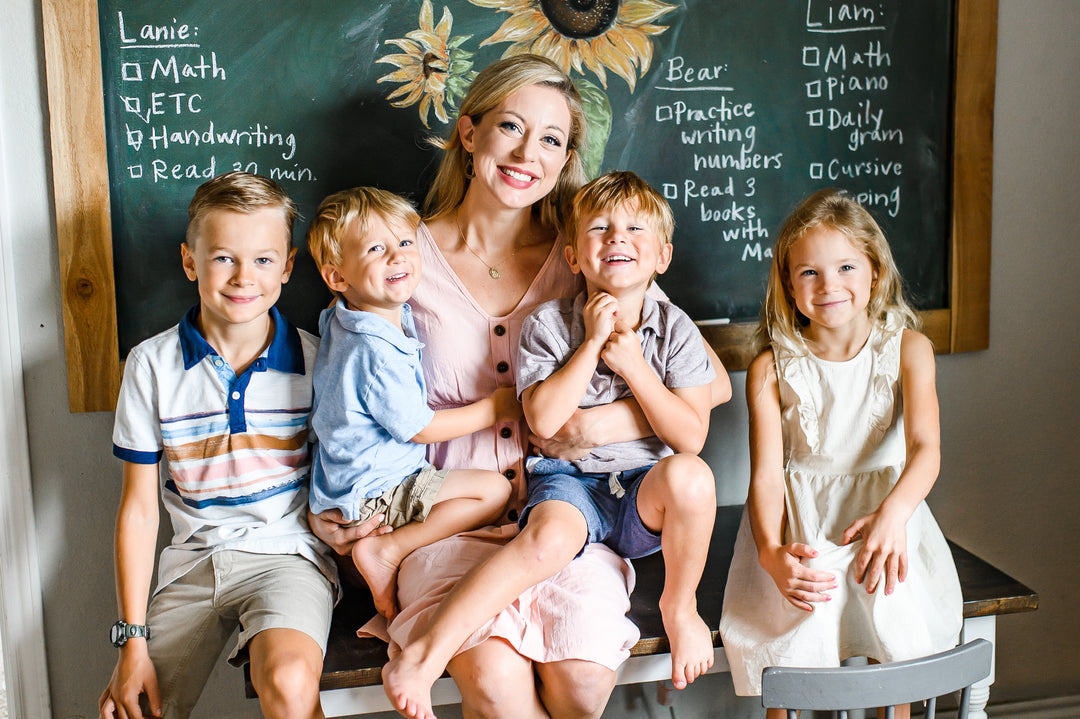
Both of my children started sewing with a machine at age 6. It was the age when I felt they could listen to my instructions and not rush ahead, which would put them in danger. Now my son is 8 and I still do most of the cutting, ironing, and pinning, and he does everything else. My daughter is 6 and just began to sew. I explain each step in detail, first, then she's able to move ahead. We've made basic quilts and doll blankets and are now working on a simple stuffed animal.
I hope these tips are helpful! Please let me know in the comments section if you have any questions... I'd love to help!
This post contains Amazon affiliate links. If you purchase through these links, I'll receive a small commission at no additional cost to you. Thank you!
